Before we start.
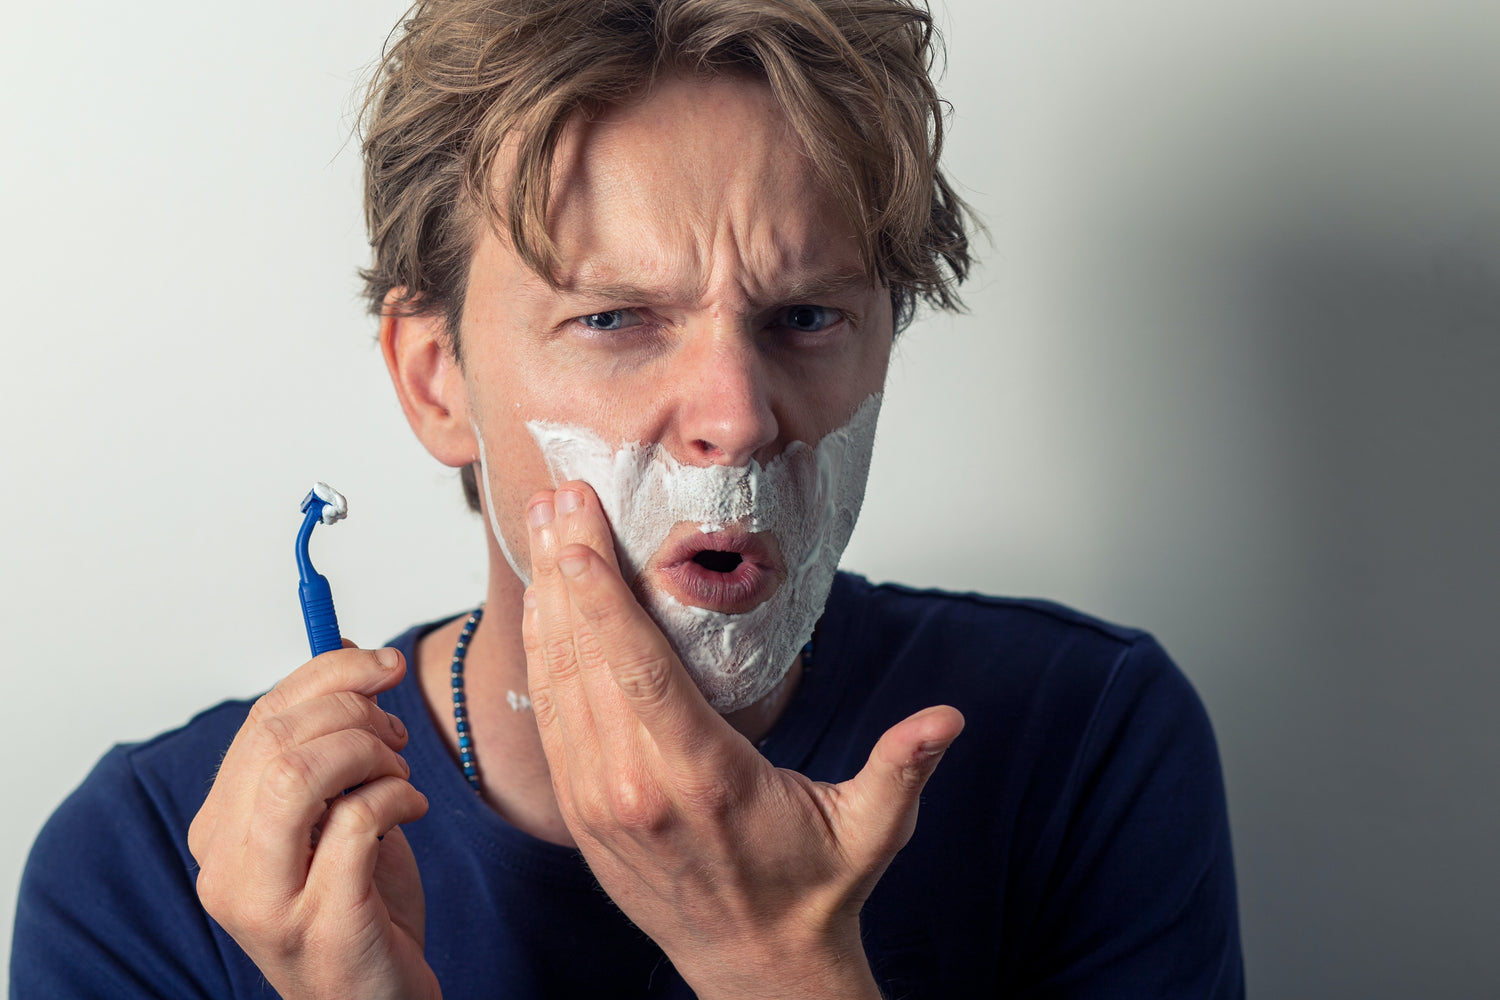
A close shave is the best way to get a smooth finish on your skin and to achieve that clean look. But it can be a deadly process! How many times have you finished your shave, only for your face to look like a bloody mess?
Even with the best razors and equipment, we can still get a nick every now and again. Then comes the annoyance of trying to patch ourselves up and stop the never-ended flow of blood! There has to be an easier way, right? Well there is – below, we take a look a improving your shaving technique, and how to stop shaving cuts from bleeding.
Part 1 – How to Avoid Shaving Cuts
-

Wetness is the key
Dry skin and a razor do not work well together. This is why many people shave after or in the shower. And this works! Before shaving, if your skin is wet and hydrated, there is less likelihood that your razor will get clogged from things like oils and natural facial debris.
TIP: Use a shaving brush to apply your soap/cream to help exfoliate the skin and raise your hair off your skin.
-

As is lubrication
While having a wet face really helps, so does applying lubrication to your skin. Shaving cream or gel is essential when using a cut throat razor or safety razor.
Firstly, it helps protect your skin and allow the blade to glid smoothly across your skin. Secondly, depending on the brand and type, it can have moisturizing properties to keep your face feeling fresh, hydrated, and soft afterwards.
How to Stop Shaving Cuts from Bleeding
In summary to stop a shaving cut from bleeding you should clean the area, apply pressure and then use a cold compress or alum block to seal the cut.
Even the most practiced and skilled shavers will still make mistakes and nick their skin. Therefore, it’s highly important to know how to create any cuts to stop bleeding, and to prevent things like skin infections. Below, we have created a simple four-step process to prevent excessive bleeding, and help keep your skin fresh after a shave.
-
Step 1 – Apply pressure
The first basic step is to apply pressure. This will slow the bleeding and help the skin to start healing. We advise keeping a separate cloth that you can use for this – not the same cloth you use for washing etc.
Simply place it under warm water and then hold it to the cut area for around 30 seconds. The water should clear away any mess while the pressure helps stem the bleeding.
-
Step 2 – Apply a disinfectant
Next, we want to thoroughly clean the area and go one step further than what warm water can achieve. We do this by applying a disinfectant to the affected skin.
A disinfectant removes any bacteria that could potentially build up inside the cut and cause issues later. It’s important to use an alcohol-free substance. Alcohol-based disinfectants are effective at removing bacteria but can also dry your skin and slow the healing process.
Something like a witch hazel-based disinfectant is ideal as this eliminates any nastiness but will calm your skin and help the healing process.
-
Step 3 – Apply a cold compress
So, you’ve applied pressure, stemmed the bleeding, and cleaned the cut. However, it’s still probably bleeding at this point. It’s now time to apply a cold compress.
You have two options – an ice cube or a cold cloth. Obviously, a cold cloth is the easier option as we don’t know many people who keep a store of ice cubes in their bathroom.
Simple hold the cold compress onto the cut for a maximum of 30 seconds. The coldness will effectively constrict blood vessels and stop the bleeding completely. This is also coincidentally why we generally splash our face with cold water after a close shave – the cold water helps constrict our pores.
-
Step 4 – Apply your Alum block
Lastly, we want a protective barrier on the cut to prevent any bleeding, to promote healing, and to stop any bacteria from entering the wound. This is where an alum stick is incredibly useful.
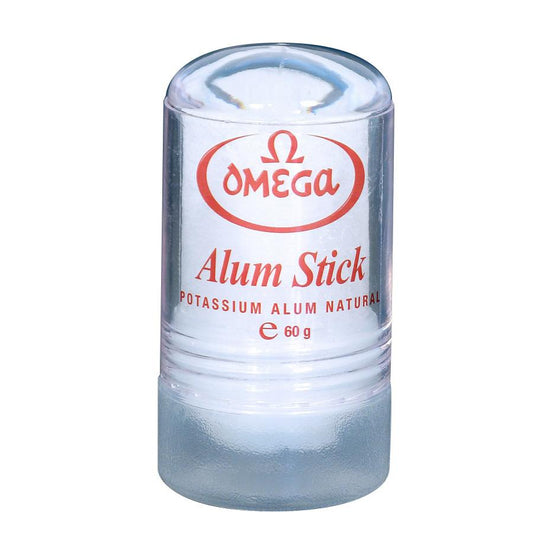
Potassium Alum is an effective antiseptic and astringent and is the most effective product to apply to a shaving cut. It has been used for decades and aside from shaving cuts, it can help stem nosebleeds and relieve pain from things like bites.
Clean your hands thoroughly first before applying the alum. If you have an alum stick you can simply apply it to the area and then massage it into your skin. This should seal the cut, stop any bleeding, and finalize the healing process.
Understand hair growth direction
There are two ways you can shave – against or with your hair growth direction. If you shave in the opposite direction of hair growth (against the grain), you are more likely to cause irritation and potentially cut your skin. However, the benefit of doing this is that you can achieve a much closer shave.
In contrast, shaving in the same direction is generally easier and safer. You are then relying on the quality of your razor and shaving skills to achieve close results, though.
A common shaving ritual is to shave with the grain first, and then do a 2nd shave against the grain. This gives a really close shave and reduces the chances of nicks by going straight in against the grain.
Protect Your Skin and Prevent a Bloody Mess With an Alum Stick
Shaving doesn’t have to be a battle with life and death! Nor does it have to involve puddles of blood and shaving cuts that simply won’t heal. By using our simple tips for both shaving, and stopping bleeding, you can improve your technique and enjoy the experience more. Items like a shaving stick and disinfectants are important to use, so make sure you have them as part of your shaving kit!
-
Alum Sticks
View Alum BlocksSee below our recommended alum blocks to help with shaving cuts and to prevent bleeding.
-
Brand: Omega
Omega Alum Stick 60g
Regular price £7.96Regular priceUnit price per£9.95Sale price £7.96 Sold out
 -
Brand: Cut Throat Club
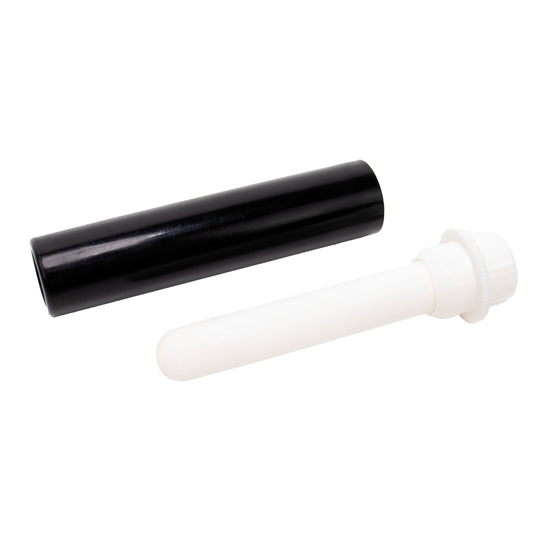
Styptic pencil
Regular price £5.95Regular priceUnit price per
 Sold out


Conclusion - Phew!
That is everything. All in one place. If you are interested in getting started wet shaving then check out the Cut Throat Club's product range.
We would love to get your input on any differences of opinion you have or other lessons you have learned that new beginners would value - Please leave a comment below.